Related pages
Recommended links
Techniques for rolling stock
OLD WINE IN NEW SACKS
simple CAM modelling using a Craft ROBO cutter
What is a Craft ROBO cutter?
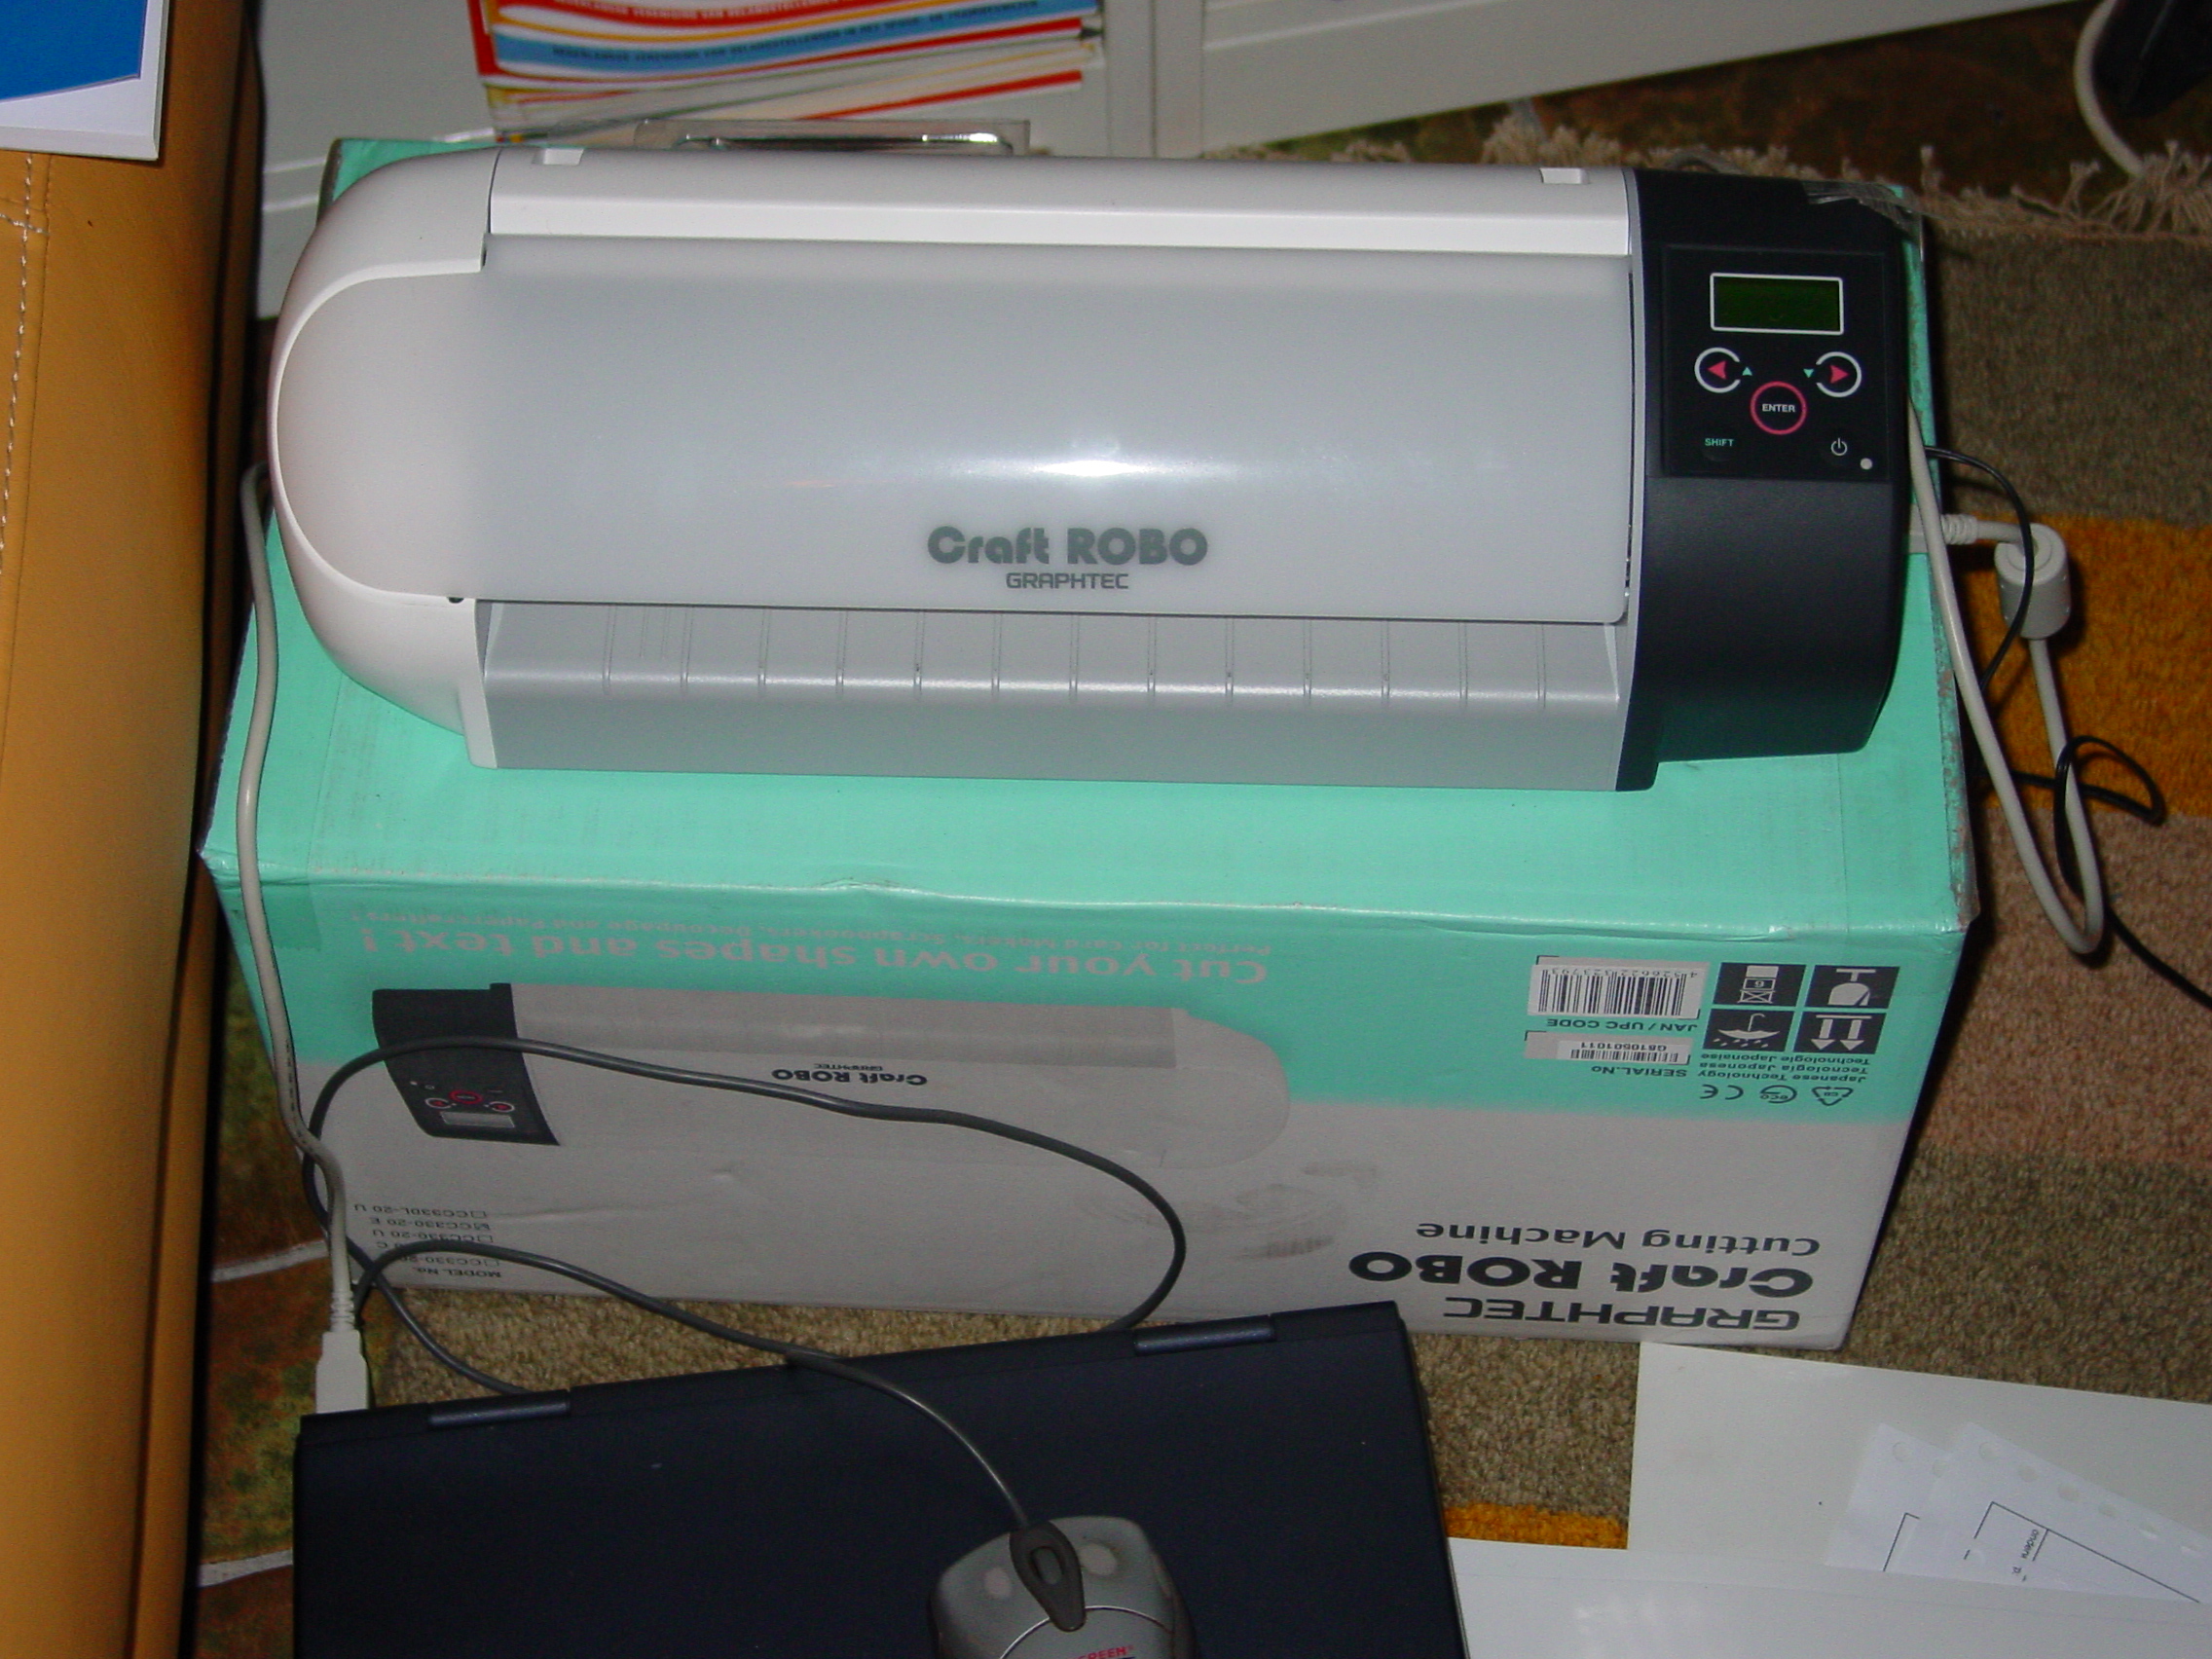
small plotter with a knife
It is a device with the size of a small printer but it is equipped with a knife instead. It resembles the old style needle printers with the X-axis driven over a teethed rubber band and the Y-axis moving the paper with a rubber roller. Like plotters it can do its moves in both directions. It is capable of cutting thin materials, primarily meant for paper and thin plastic film or foils. You can use it for hobby crafts such as making complex greeting cards or layouts with lettering. It comes with software for producing plain drawings including an utility to run it directly from CorelDraw. The latter was an interesting option as this was readily available here with lots of material to draw upon.
The first step was of course to find out where the upper limit on plastic foil thickness lies, primarily because plastic offers lots of advantages over paper. With the settings for heavy paper in slow motion and the redraw facility on 3 it can cut 0.3 mm PS plastic sheet. These settings allow the cut forms to be pressed out easily from the sheet. Generally this will suffice as thicker material can be built up using several layers.
The machine has drawbacks of course as the accuracy for FS160 is limited and just on the brink of usability. The offset between the knife point and the centre line of rotation leads to the knife taking shortcuts on sharp corners. Thus you will see a difference in curves going with the movement of the roller or against. Howver this is a constant feature thus you can adapt the curves in your drawing to nihilate this effect because you know in advance how it will be plotted. Alternatively the effect is likely to be reduced if you rotate your drawing by 45 degrees before plotting although this will cost extra foil and reduce the effective size that can be cut.
The other drawback seems to be that for long drawings it looses accuracy possibly because of slipping of the plastic on the rubber roller but more likely it looks to be a software feature judged on the forms of symmetry in it. I didn't invest any time to research this feature.
The main advantage of the machine is that it is cutting with high repeatability and much faster than anyone can do by hand.

Using an existing drawing from an etch as input for the test as pilot. On the foreground cuting you can still see the differences in curves left and right at the top of the windows, also note the symmetry along the center line due to mirroring in the original drawing which makes that one half will be cut in the opposite direction to the other half.

The pilot put together

Another pair from an adapted drawing which was refined to assist the techniques for building in plastic. The future roofs lie in front.

The lugage compartment is equiped with a dugout on the roof. The roofs are made using 2 layers of 2 mm PS sheet welded together and profiled using a flycutter grinded for the job on hand with the milling machine.

Forcing the roof on top of the dugout compartment using rubber bands, it is engraved at the bottom to facilitate smooth bending.
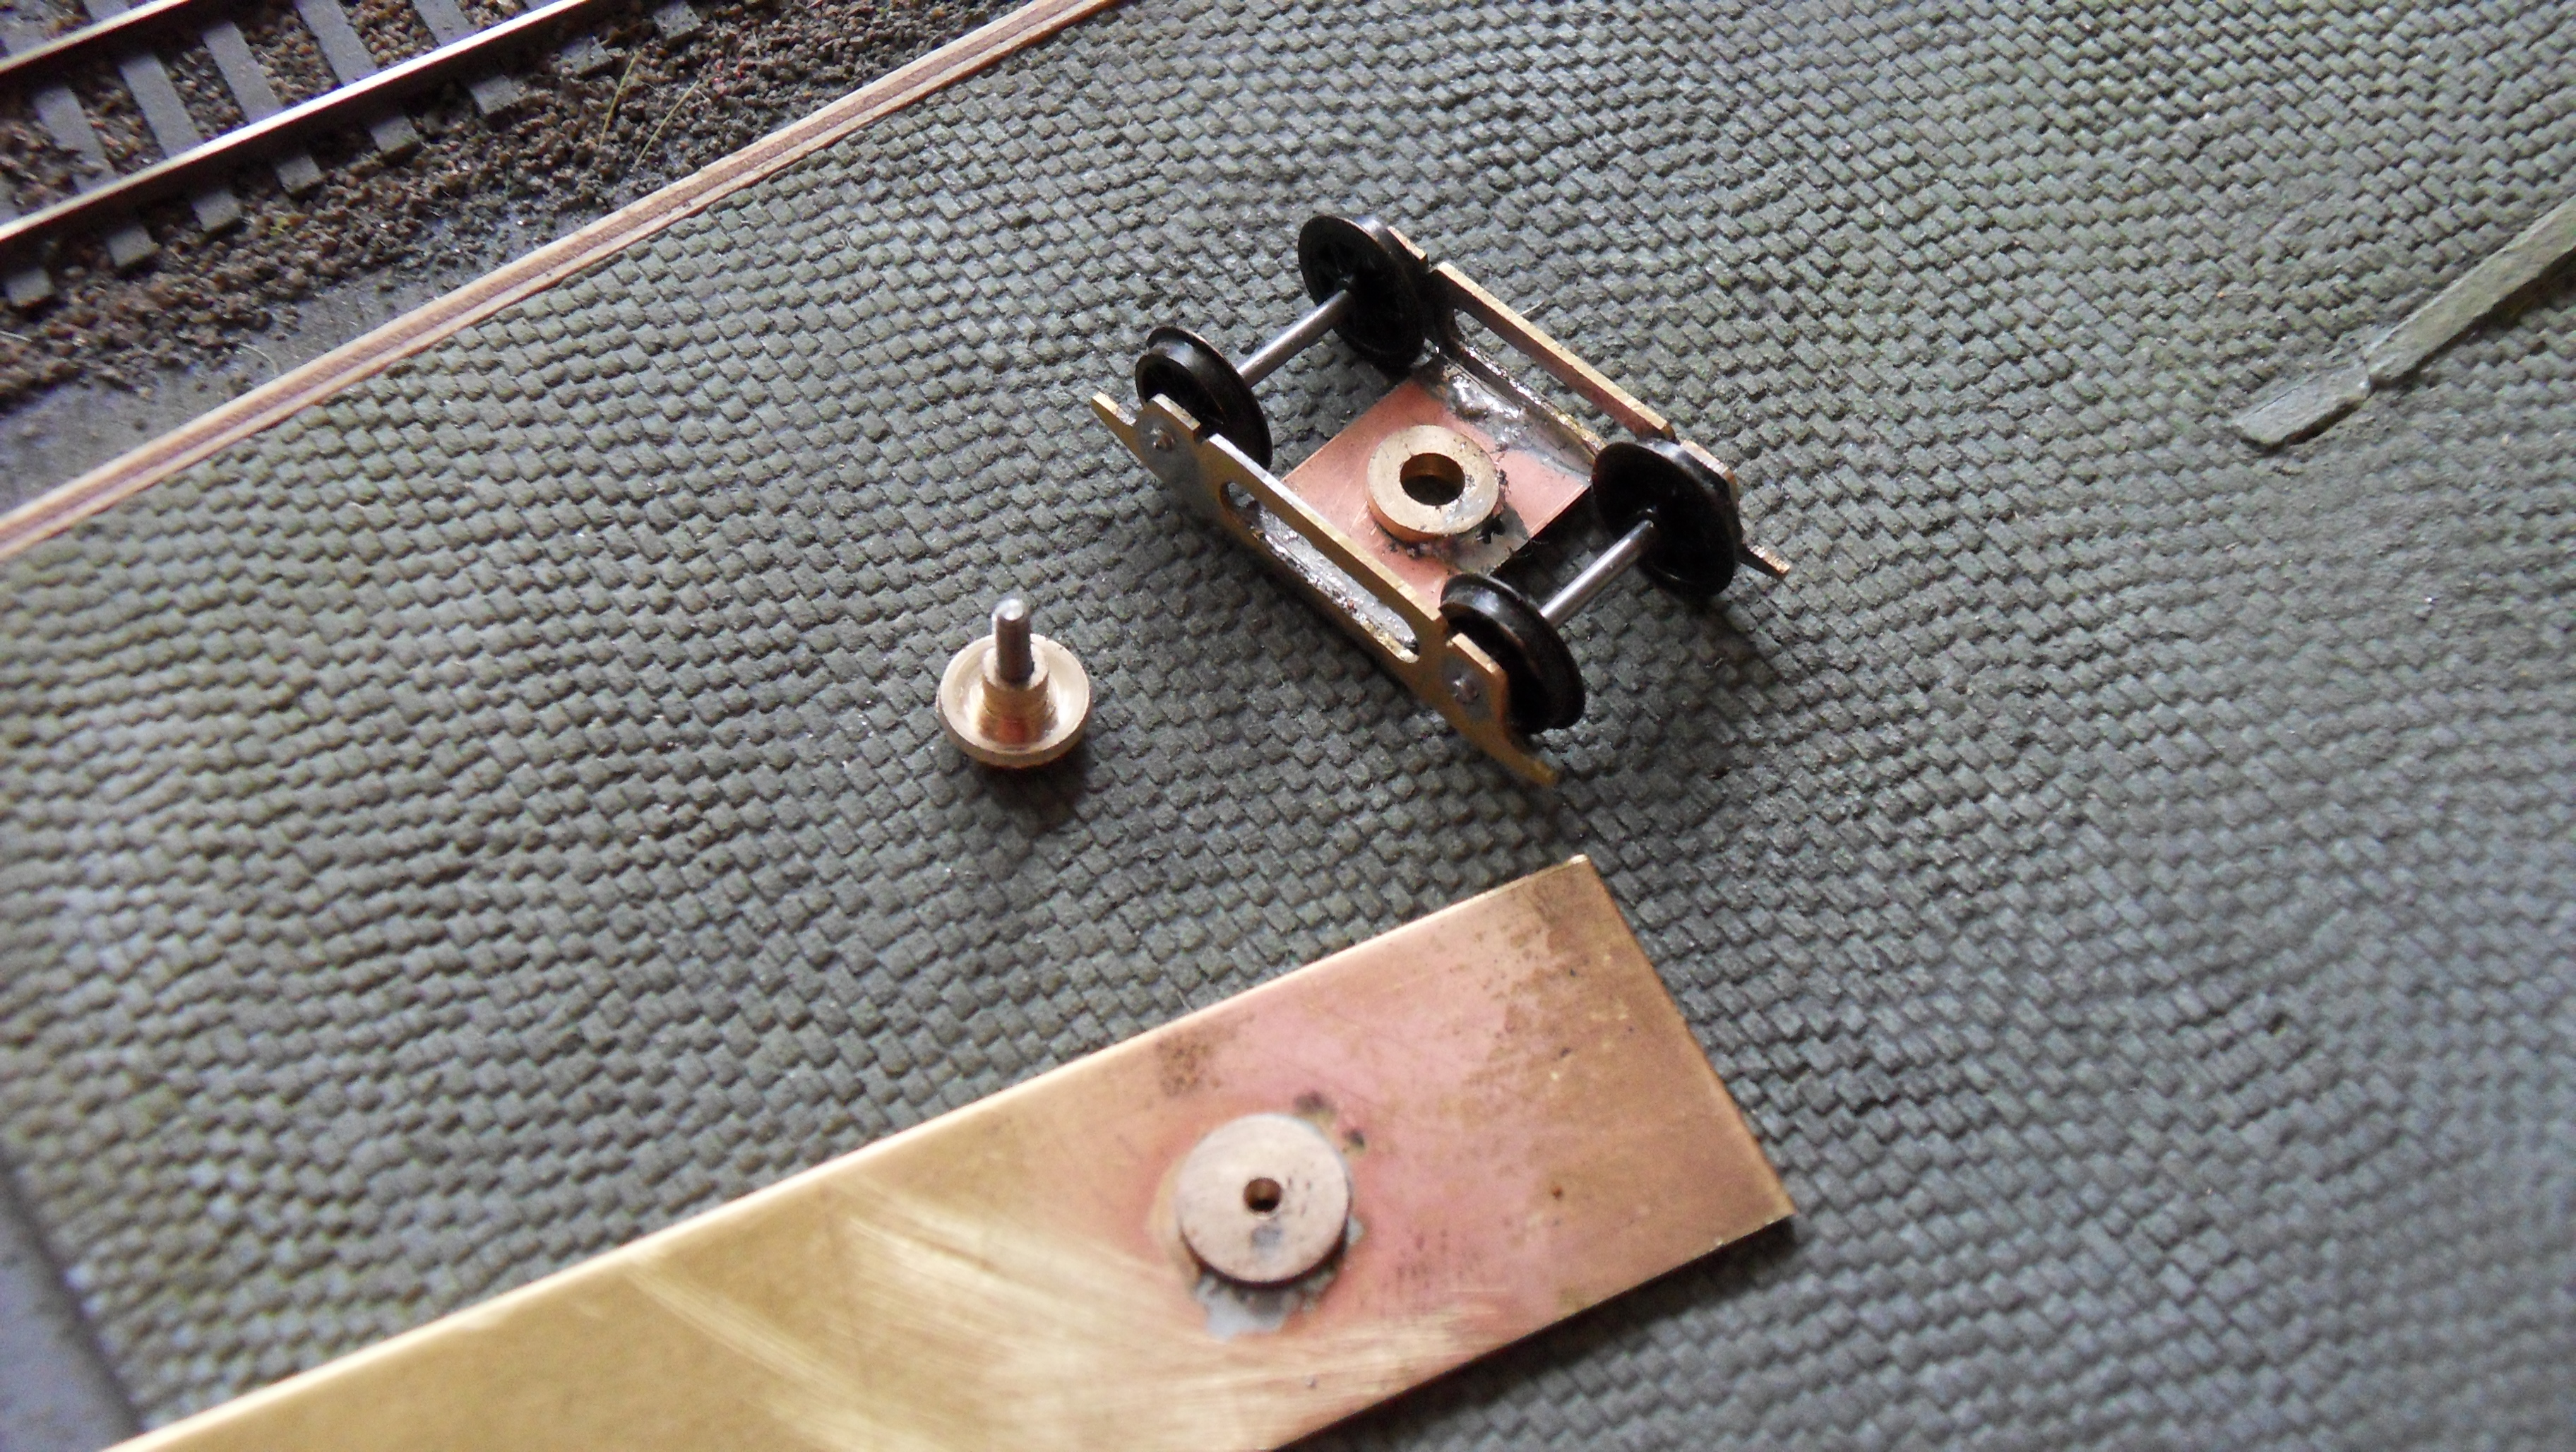
The base is a simple 0.8 mm thick brass sheet with 2 bogies. This bogie is hand cut with a jewellers saw from 0.5 mm brass sheet with a spacer from 0.8 mm PCB. The center bearings are brass turnings.

Prototype bogie (Pensilvania), several variations exists with additional openings in the horizontal bars.

The bogie sides are cladded with 3 layers of 0.3 mm PS made with the Robo cutter. (The rest to spare).

Side view of the pilot coach with a bit of paint, the bogie showing springs made on the milling machine and the roof with vents albeit with overscale roof ribs made with 0.2 mm angling wire. These clearly require a more subtile approach.

The windows are cut from 1 mm transparent PS from a CD case using the milling machine.

Current state of the art. Details such as handrails, steps and boxes beneath the frame are still to be made up. Also the interior is clearly visible and needs attention.
Date: august 2012
Copyright: Henk Oversloot
